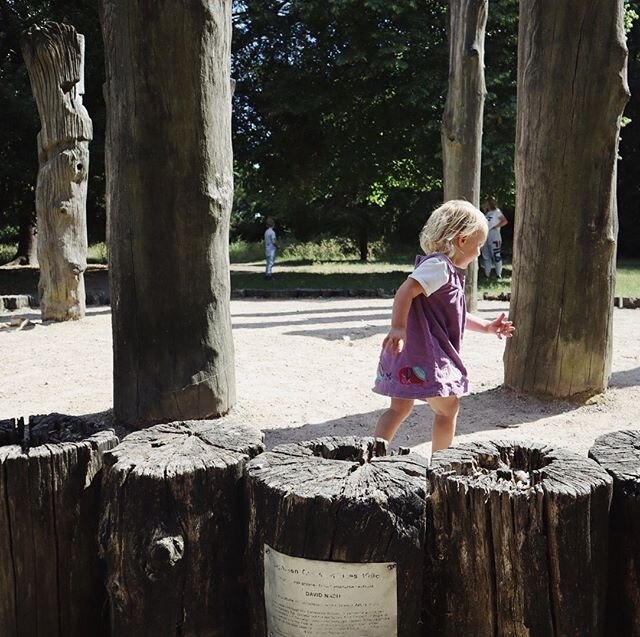
11 Activities for Kids to Help Wildlife and Biodiversity.


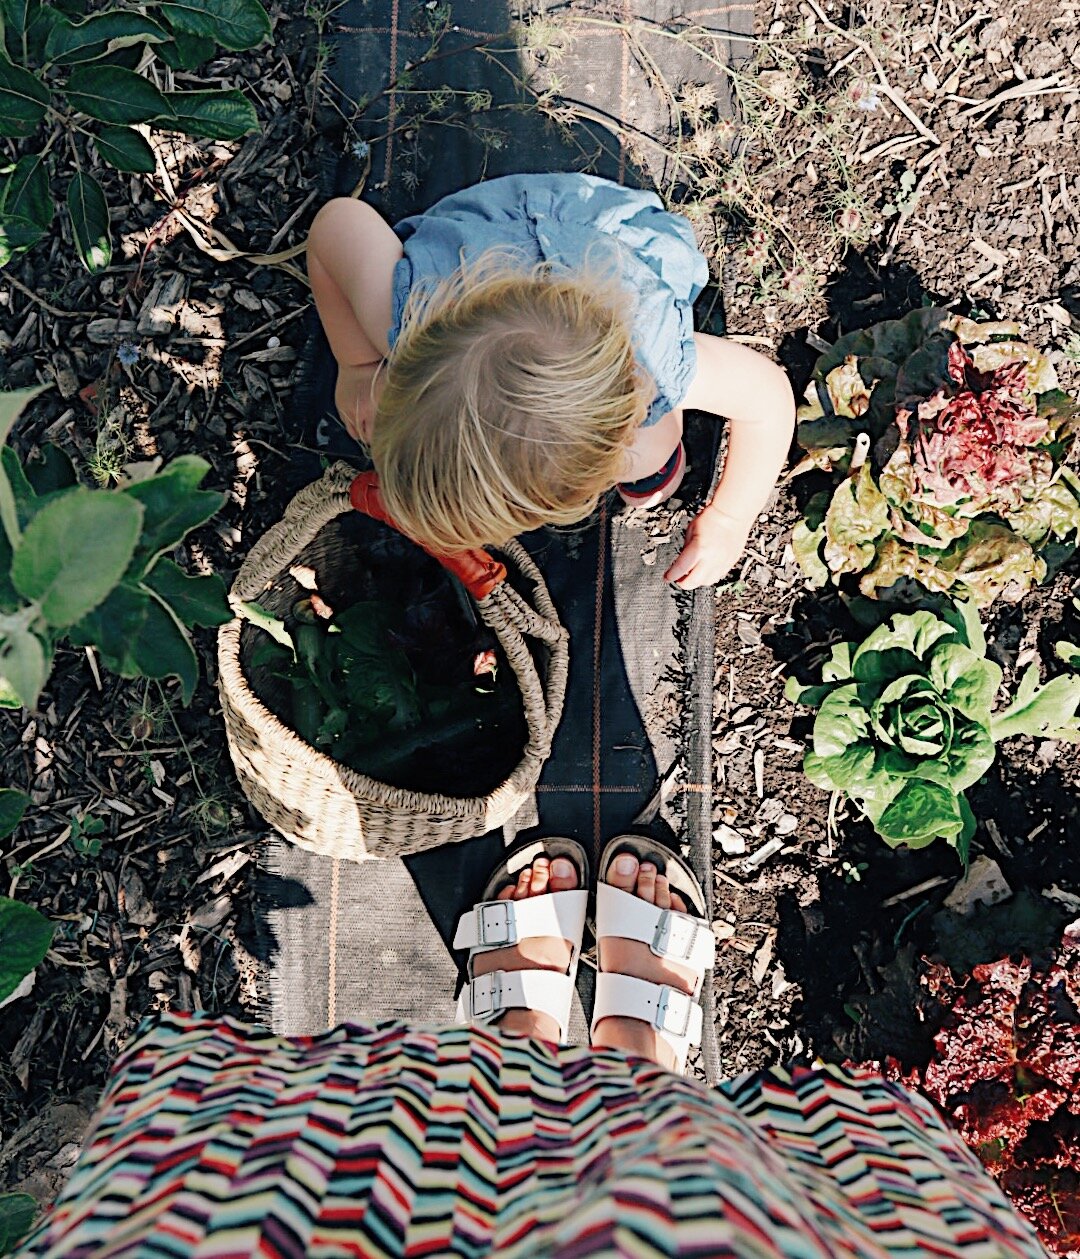
If anything good came from lock down it was our relationship with any outdoor space we might be lucky to have. We found activities to do in our gardens with our children, and even the most reluctant of gardeners planted a few lettuce leaves and carrots to pass those long, sunny lockdown days. But I believe we need to see our garden as more than just nice places to sit and drink our coffee by morning and wine by night, they could be a hive of activity for breeding insects and cute creatures.
As urbanization increases and the health of our countryside decreases, our gardens have become important habitats for local wildlife. Making your garden wildlife friendly can be a a fun and easy activity to do with your children, by making ponds and lagoons to encourage breeding and tiny warm homes for hedgehogs.
These simple things to make and create in your garden can help increase the local bio-diversity as well help your garden thrive, becoming beautiful in a totally organic and mostly free way. Yep that’s right all these nice creatures you want to encourage to your garden to warn off pests and pollinate our pretty boarders, plus all that organic matter we collect will fertilize our soil better than any chemical from a plastic bottle.
Pin me for later…

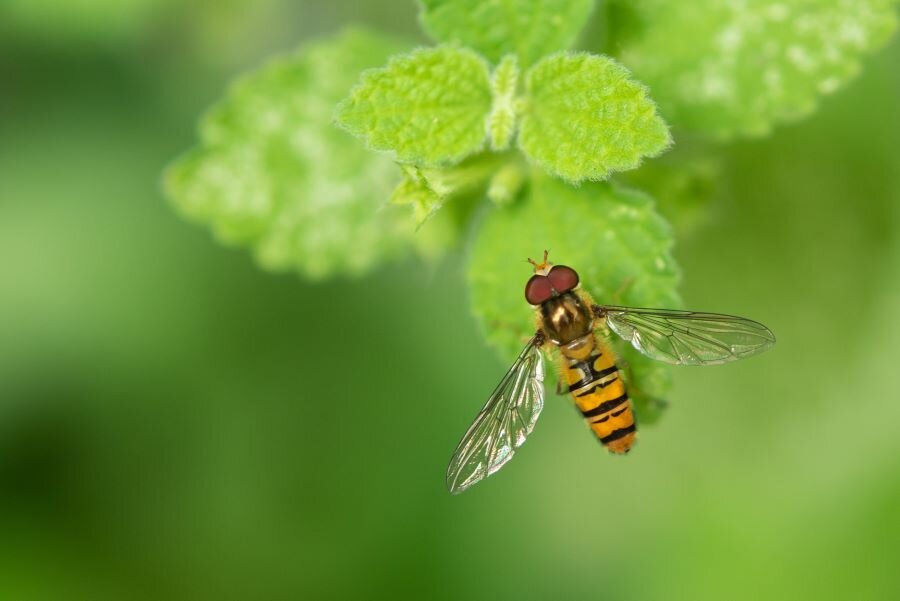
CREATE A HOVER FLY LAGOON.
Hoverflies are an important part of the bio-diversity in our gardens. The best way to help them is to create a hoverfly lagoon for them bred. In turn they will help pollenate your garden flowers and help protect from aphid infestations.
You can make a hoverfly lagoon anytime of year but the optimum time is March/April for help the early flying adults. You can leave your lagoon in place over winter but it may need topping up with leaves and cuttings if leaves don’t naturally fall in.
What you’ll need to make a hover fly lagoon. .
Plastic milk bottle. 2 liters or larger will do.
Collect dry leaves, plant cutting and sticks.
Water.
Scissors.
An old plant pot.
Big enough to sit the milk bottle in.
Steps to making your hoverfly lagoon.
Cut the top off your milk bottle.
You can put the top in the recycling as we won’t need it.
Using the tip of the scissors or a pen poke some holes around the top of the milk bottle to allow for overflow.
Fill the milk bottle with your dry leaves, sticks and any cuttings you have.
Fill it as much as possible as it will break down and become the perfect food for the larvae. The sticks are important and it’s worth adding some extra on top to deter predators and give the larvae something to grab onto.
Fill the lagoon with water to just below the line of holes you made.
Place your lagoon in the old plant pot.
Add some more leaves to the pot around the base of the milk bottle.
This is to give the hoverflies somewhere to hide when in the Pupae stage (the stage after they become larvae.)
Place in a shady spot, ideally under a tree.
Be aware that lagoons can get a little smelly with the rotting matter. It might be a good idea to stop little hands digging too deep into it. You can however encourage your children to gentle look for larvae or the later Pupae (they look similar to caterpillar cocoons.)
2. CREATE A HOME FOR HEDGEHOGS.
According to the Devon Wildlife Trust the number of hedgehogs in the UK has massively dropped over the last 25 years from 1.5 million to just 500,000. As we increasingly urbanize the number of rural hedgehogs has halved, while the number in urban areas has increased by a third. Meaning our gardens, small or big, alleyways and green areas are important habitats for these spikey friends.
Unfortunately making a hedgehog house is a little harder than a simple hoverfly lagoon but easy all the same. If however it’s not something you want to do you can buy hedgehog houses online or at your local pet store cheaply to provide a home.
Having a compost bin or a log pile too not only provides a good feeding ground for hedgehogs but could too provide a nice place for them to nest.

To make a Hedgehog House you will need.
Access to your garden.
Two pieces of untreated wood.
To metal hinges.
A hammer and nails.
Dry leaves, dry grass or hay and newspaper.
Some sort of plastic sheeting.
Soil.
Before you starting making your hedgehog house you need to make sure they can get into your garden.
Hedgehogs travel up to a mile a night looking for food. Their main obstacles are our garden walls and fences. It’s one of the main reasons for their decline. The good news is it’s easy to fix. Just drilling a hole in your fence around 13cm by 13cm (big enough for hedgehogs but not other animals you’d rather keep out) can make that all important access route of them.
You could also make a little ramp for them to get up steps and under your gate perhaps. Have a look around your garden and think how they might be able to get in.
Steps to Making a hedgehog house.
You’ll need to cut your wood to make a box with a door opening (about 20 cm square.)
Nail together, using your hinges to make the top able to open.
Cut remaining wood to make a tunnel that fits to the opening on the box you’ve just made. Make the tunnel around 30cm long. This is to stop any predators getting to the sleeping hedgehogs.
Place in a shady, quiet spot in the garden.
Lift the lid to add in your newspaper, leaves, hay or dry grass cuttings.
Place your plastic sheet on top to keep in dry inside.
Add soil and leaves on top to cover.
Its a good idea to clean out your hedgehog house once a year (spring is the best time), but of course not if there is current occupant in the house.
3.MAKE A BREW OF SMELLY FERTILIZER.
This is another smelly one but for kids that like a little experiment and the gross factor it is just perfect. It will also give you free organic fertilizer for your plants.
Make fetilizer from weeds.
Get a large bucket.
Fill 1/4 with weeds you’ve pulled from the garden.
Fill the rest of the bucket with water.
Leave for 1-2 weeks. Until it looks like nicely brewed tea.
Pour your fertilizer tea on your plants and watch them thrive.
how to Make banana peel fertilizer.
The same steps as above can be taken using banana peel, but you’ll only need to leave it for roughly 48 hours. You can use this as a fertilizer for house plants too. Bananas peel is full of potassium, phosphorus and calcium so it’s a great source of nutrients.
4. how to A SMALL POND to attract wildlife.

Even the smallest of ponds made from an old washing up bowl or a container found at your local tip shop for example can become amazing habitat in your garden.
You can do this either leaving your container above ground of digging down into the soil. Making sure your container is water tight. If not add some plastic sheeting.
Add rocks, gravel or shingle inside your pond with varying degrees of height as well as around the outside so lots of different animals can climb in and out.
Make sure the spot you choose has some sunlight and some shade throughout the day.
Fill your pond with rain water ONLY because tap water can contain chemicals.
However small your pond be sure to add some plants. Ask your local garden center for what they have which will fit in your size, something like a miniature waterlily would be perfect for smaller containers.
Now do nothing, don’t introduce anything, just sit back and let nature take it’s course, wildlife will find their way to you and it will be a joy to watch.

5. Create BUG HOTELS to help the insect population in your garden.
The joy of a bug hotel is that your can make one from just about anything. You can make them at any time of the year but autumn is a great time because of all the fallen leaves and all the cutting back from trees and bushes you might be doing at this time of year. All can be used in your bug hotel.
Bug hotels can get seriously fancy. Just a quick YouTube search on the subject will come up with some impressive builds made from pallets, bricks, even wooden bee hive like structures. If you can make something like this brilliant but if your looking for something simple the kids can do this is the one for you.

For you bug hotel you will need.
A 2 liter plastic fizzy drinks bottle, or an old milk carton.
You could also use tin cans, taking both ends off.
Sticks, bark, pinecones from your garden or local area.
Some string if you wish to hang it.
Easy Bug Hotel step by step.
Cut the ends off your plastic bottle leaving a tube like structure.
It doesn’t matter how long or short you make it. You could cut the bottle in half to make two.
If you want to hang it, pass the string through now and tie a knot.
Put all your sticks inside, layering until it’s nice and compact so it won’t all fall out.
Now hang in the garden for the bugs to find, perhaps in a tree. You could also pop it on the ground in the plants or among the fallen leaves for all sort of creepy crawlies to find.
6. get your kids making LEAF Mould Fertilizer.

This is a simple one for you to use when you want to give the kids jobs to do in autumn. Asking them to help clear the lawn of leaves sounds boring. Ask them to make leaf mould and suddenly their interest is spiked.
If you don’t have many leaves if your garden you could go foraging in your local parks. Please do not do this in woodland areas as the trees need to leaves for nutrients too. However your local park ranger with thank you for helping clear grassy areas or playgrounds of them. Or your local street. I advise against busy roads to avoid pollutants, but a quiet side road would be fine.
Make something to put your leaves in. Just some chicken wire made into a circle and filled with the leaves will do. Then leave it for 18 months to 2 years. Sorry this one is a long process.
Try to avoid using thicker, waxy leaves in your mould as these take a lot longer to break down. Oak, beech and hornbeam leaves are great but don’t worry too much about what’s going in.
What can I use lead mould for?
Sowing seeds.
This stuff is beautifully nutrient rich so starting your seeds off in it will do well. But you will need well rotted leaf mould for this (over two years old).
Mulching.
Leaf mould less than two years old can be used as a good mulch on top of your soil to help give plants an extra boost of nutrients.
Winter covering of bare soil.
This will again help improve soil quality and help stop weeds growing when your tending your beds less or they are bare.
If your leaf mould seems to be taking a long time to break down get the kids in there to turn it and aerate it. You also do not want the leaves to dry out so during hot weather you can moisten it.
PLUS THE OLD FAITHFUL WAYS TO A ECO-FRIENDLY in your GARDEN.
7. BEE FRIENDLY PLANTING ALL YEAR ROUND.
The list below are all easy flowers to grow in your garden, ones that kids will be able to help you grow. Many are perennials meaning they will grow back every year, making the garden easier for you. It’s important to try and get some early and late flowering plants in the garden too so there is food for the bees all year round.
10 easy to grow flowers to attract bees.
Cat Mint.
Lavender.
Salvia.
Nasturtiums.
Penstemon.
Echinacea.
Herbs such as Thyme, Marjoram and Borage.
Witch hazel and Heather
These will provide food for bees into the winter months.
Hellebores.
These flower in winter until spring to provide early nectar for bees.
Pulmonaria.
Also good for early flowering and solitary bees.
8. make a COMPOST BIN. Why compost in the gardens helps bio-diversity.
A compost bin will attract a whole heap on bio-diversity in your garden. From worms to millipedes and centipedes, even grass snakes. They are also a great cozy home for bumble bees to make their nests.
And of course free compost. Get the children involved in what goes in the compost bin. Mine love saving up all the toilets rolls to throw in there as well as the tops off their strawberries. My daughter then likes to have a peak at all the worms she can see on top.
You can of course buy a compost bin, there’s one to suit all budgets, or if you have the space build one from old pallets. I’ve put together a guide on composting for beginners in a previous blog post here. “A Beginners Guide to Composting with Minimal Space.”
I have two compost bins. I fill one for a year, then let it rot for a year while I fill the second. The kids get great joy in helping me empty it around January time. Filling their buckets and spreading it on the garden.
9. PLANT SEEDLINGS, FRUIT AND VEG will also help your garden be eco-friendly.
You might think that growing veg for yourself is separate to thinking about how your garden can be more eco-friendly, but the doesn’t have to be true. Varity is what makes good bio-diversity in the garden, and vegetables can look beautiful too. I like to mix my veggies in and among the flowers we have growing in the garden. This helps keep pests down too because they become confused with a whole heaps of everything that is going on. And of course I get the kids involved in this too. They love nothing more than a spring day planting something in the green house and running out every morning to check on it. You can do this weather you have a large garden or just a window sill. Plus all those lovely pollinators you’ve spent all this time trying to attract will now help you out with your veggies too, pollinating them and deterring pests.
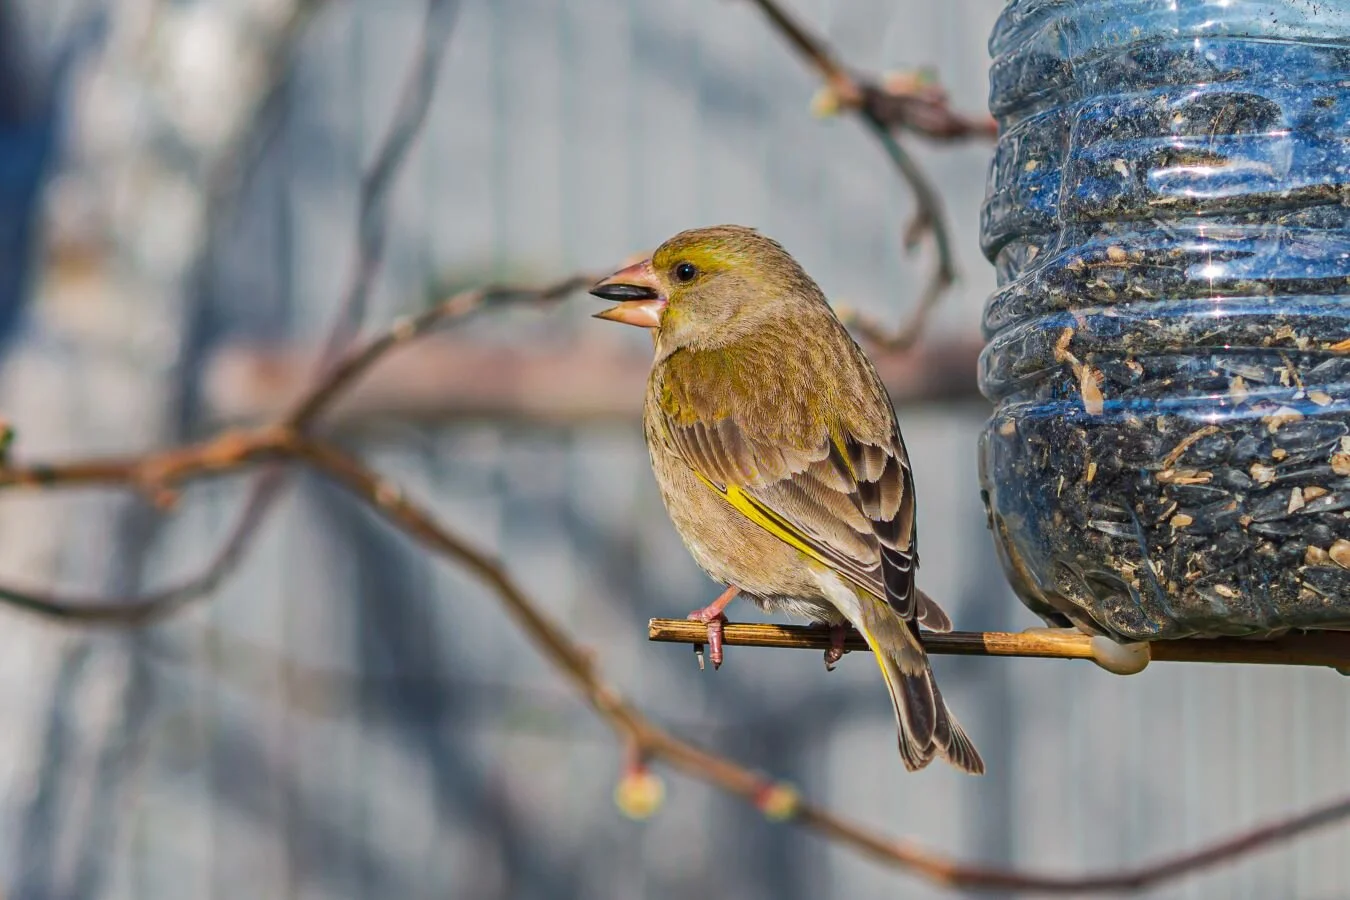
10. FED THE BIRDS.
Not only do children often love watching out for birds on their own bird feeder they have stocked themselves attracting birds to your garden is always a good idea. In late spring/summer the birds will be eating all sort in order to feed their young and they eat the good stuff (or bad stuff depending on how you look at it). Aphids, cabbage fly, earwigs, grasshops. Basically all the creatures we need to be managed in our gardens. An so the cycle of life continues. We want to attract it all for it all to work in natures perfect balance.
Bird feeders can be picked up cheaply from any pet store of garden center, or you can get the kids making again.
What you will need to make a simple bird feeder with kids.
A plastic bottle.
A pin.
Scissors.
A stick. Long enough to go through the bottle width ways and stick out each side.
String.
Birdfeed.
How to make a simple birdfeeder.
Clean and dry you plastic bottle fully.
Use the pin to drainage holes in the bottom and dotted around the sides of the bottle.
Use scissors to make two holes adjacent for the stick to fit through.
Push the stick through the holes to make a perch for the birds to sit on.
If you want you can do this again slightly highly 90 degrees around to have two perches.
Use the scissors again to make a hole on each side above the perch for the birds to feed through.
Use the scissors to make another to holes in the top to feed the string through.
Tie the string in a loop so it can hang in your chosen spot.
Fill with bird seeds.
Hang outside and let the birds find it.
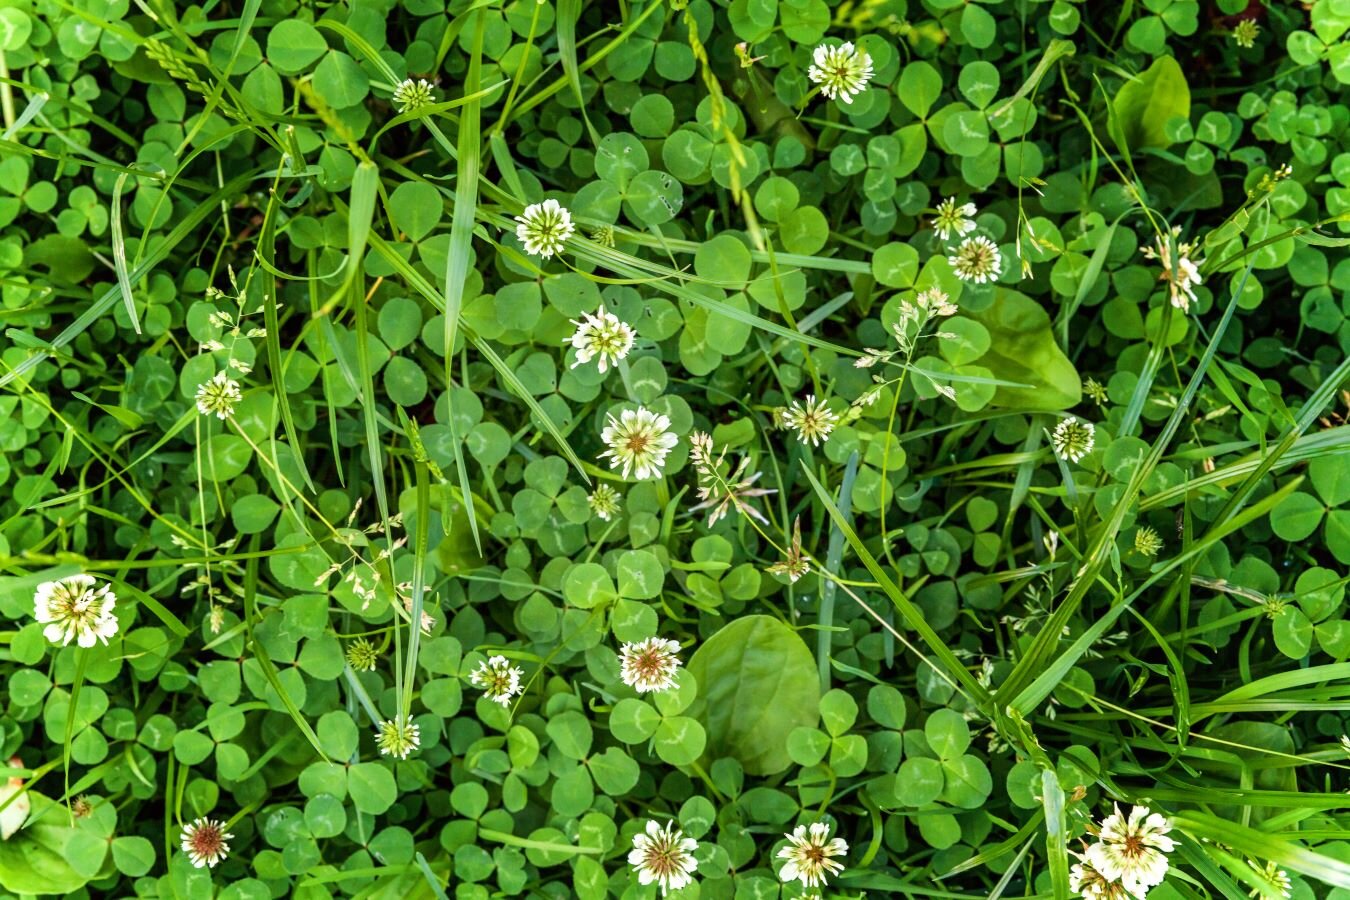
11. Quit cutting the lawns and let the kids Spot the butterflies.
Leaving even a small area of your lawn can provide a wonderful home and feeding ground for a ton of creatures. We often see any type of self seeding wild flower as a weed such as buttercups and clovers but they do not have to be. Butterflies in particular love to feed on these.
Butterflies also need room to move around so it is perhaps a nice idea to let some of your lawn grow wild near a patio or open space. This also means you can sit and enjoy watching them. There are some really nice Butterfly Spotting Charts for kids you can buy cheaply on Etsy like this one. Then enjoy the pretty colours you see popping up in your lawn.
I really hope this has given you so nice idea to get creative with your kids in the garden. I’d love if you tagged me on Instagram with any of your creations or wildlife pictures spotted in your gardens.
Much Love.
Hannah xx
Find me on instagram to join the community @hannahlgorman.